In Excel, the cell border color is grey by default, and you can easily insert a border of black color into the selected area of your choice. But sometimes you need to have a different color of borders.
In this tutorial, we will look at the quick steps to change the border color of selected cells and change the color of all cells in the whole worksheet (gridlines).
Steps to Change Border Color From Ribbon
In some cases, you want to change the border color of the cells and the first way to change it is from the draw border drop-down.
- First, go to the Home tab and in the Font group, click on the all borders drop-drop.
- After that, you’ll get a list of options, and then choose a line color from there.

- Now, a list with different color options will appear and you can select any color of your choice.

- Once you select the color, you are able to see that your cursor is converted into the drawing pencil.
- And now you can draw the border of the desired cells with chosen color using a pencil.
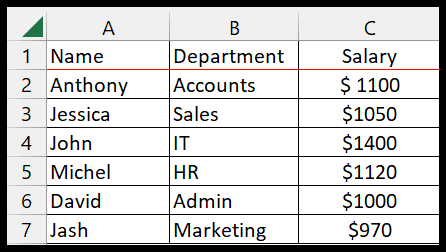
As you can observe the top row border color has changed.
Note: You can change the border color without the prior selection of cells by this method.
Change Border Color using Format Cells Option
There are multiple steps to change the border color from the format cells dialog box.
- In this method, you need to select the range of cells whose border colors you want to change.
- After this, right-click on the selected cells and choose the format cells option.

- Once the format cells dialog box opens, click on the border tab to customize the border cell color.
- Now, click on the color drop-down and select the color to change the cell border from the following list.

- Next, pick any of the border styles from the top presets.
- After changing the border and color settings, click on the ok button to apply.

- In the end, you can see the border color of selected cells of column C in the worksheet has been changed from black to red.

Change the Color of Gridlines to use it as Borders
If you don’t want to use a border in a worksheet, there’s one more option which quite handy: Change the color of the gridlines for the entire worksheet.
By this method, you can change the color of gridlines of the entire worksheet instead of selecting a certain number of cells through the below steps:
- First, click on the File tab and choose Options from more.

- The Excel Options window will appear, then click on the Advanced option from the menu.
- Now, scroll down the list of options on the right side and find out the Display options for this worksheet.
- In this, you will see the Gridline color option under the Show Gridlines category.

- Click on the gridline color drop-down to pick the desired color, and then press ok.

- Last, you can see the border color of the entire worksheet has changed to red.
