By inserting a text box in Excel, you can add text to it and move it anywhere in the worksheet. You can also customization to it by changing font style, outline, color, etc.
In this tutorial, you are going to learn all the methods to insert it and the properties and options that come with it. Let’s get started.
Steps to Insert the Text Box in Excel
To add a text box to your worksheet, follow the below steps:
- First, go to the Insert tab and click on the “Text” then select “Text Box” from the ribbon.

- After that, in the Excel sheet place the cursor at the point from where you want to add the text box and drag down it by holding the left button of the mouse.

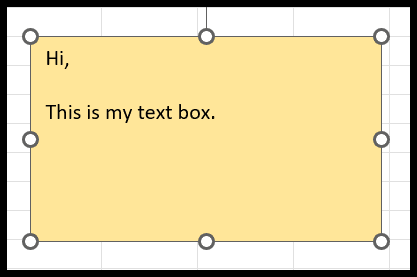
- Now, you will see the cursor inside the text box to write anything in it.
- Just start typing and enter the text that you want to insert.

There’s a keyboard shortcut that you can use to insert a text box in Excel Alt ⇢ N ⇢ X.
Adding a Textbox from Shapes
- First, go to the Insert tab then click on “Illustrations” and then select “Shapes”.

- Now, select the textbox from the list of shapes.

- After that, click on the place in the worksheet where you want to insert it.
- In the end, add the text into the textbox as you want.

Formatting the Text Box
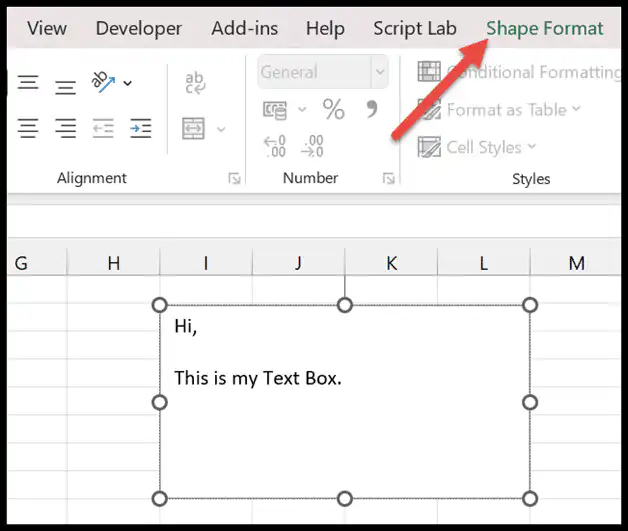
After adding the text box, you can change its formatting by changing its shape, font, font style, size, color, and so on. When you select the text box, you will get a new tab on the ribbon called “Shape Format”.
Changing Shapes and Editing Points
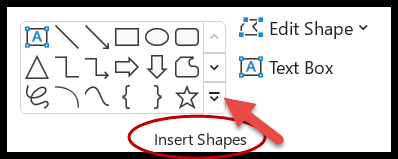
There are a variety of shapes available in the drop-down of it to add the text.
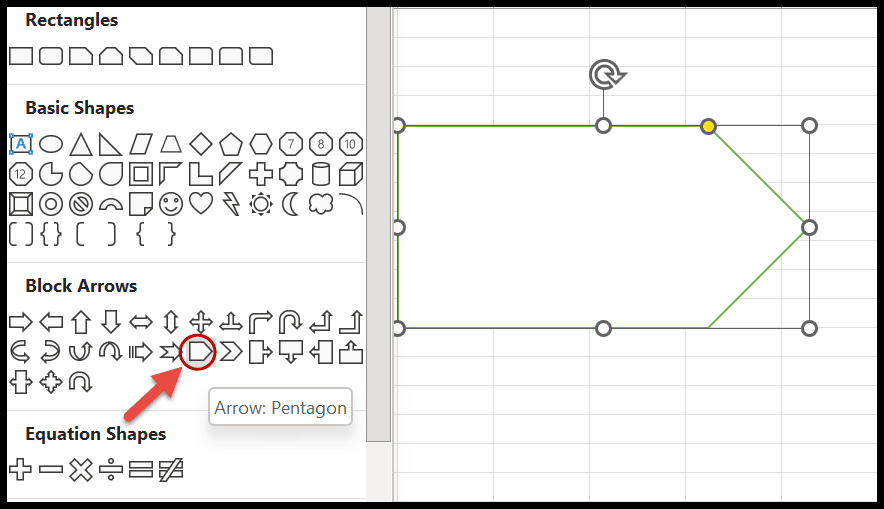
- First of all, select the particular shape in which you want to add and highlight your text.
- Then, click on the place where to want to add it.
- After that, drag and hold the cursor to draw the same shape on the worksheet.
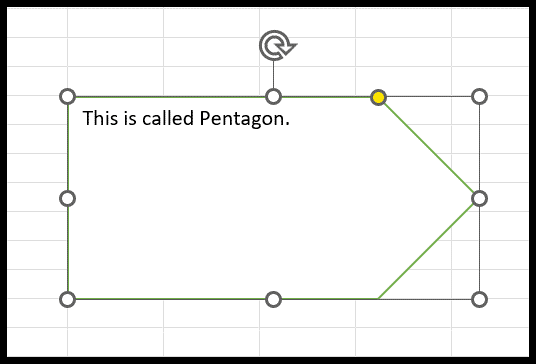
- Now, you can enter the text of your choice in it by double-clicking.
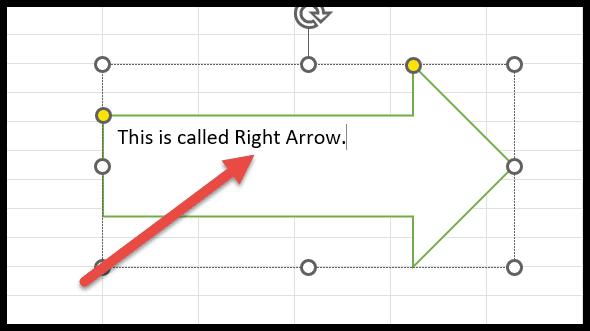
Edit Shape – If you want to change the same shape into another, click on the edit shape drop-down arrow and select the alternative shape from the “Change Shape” option.
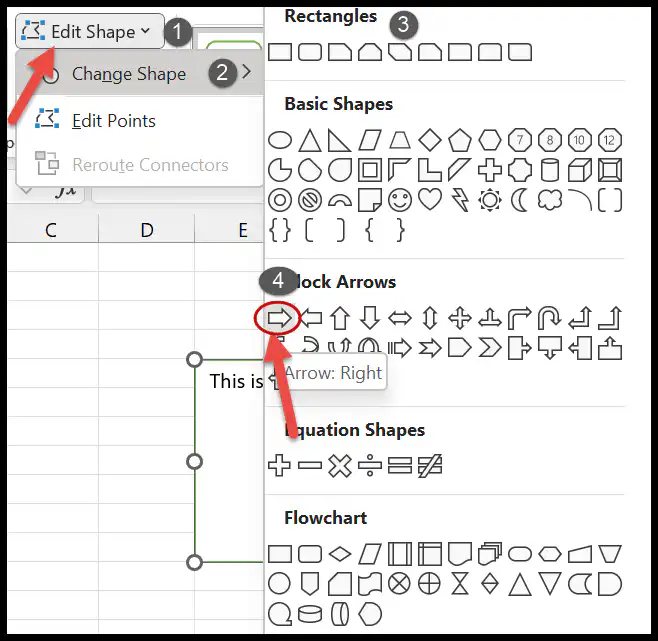
Once you click on the final shape, you will get the previous shape converted into the new one.
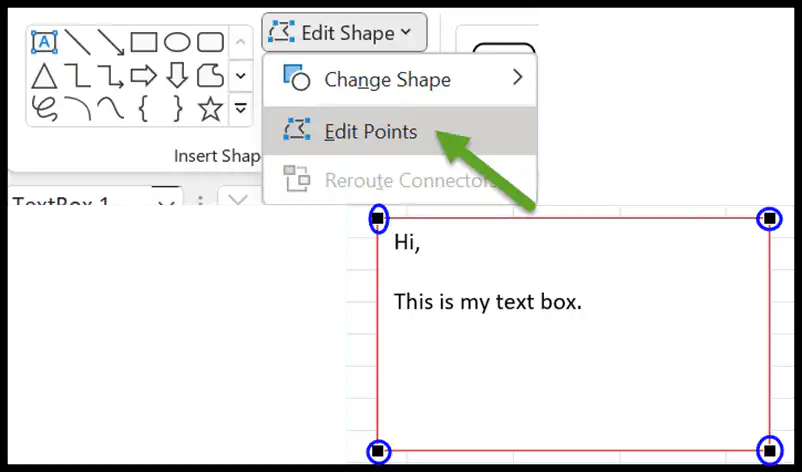
Edit Points – It helps you to convert the textbox into free flow. When you click on this option the existing textbox will be highlighted with small boxes. After that, click on any point from where you want to extend it in any direction.
Shape Styles
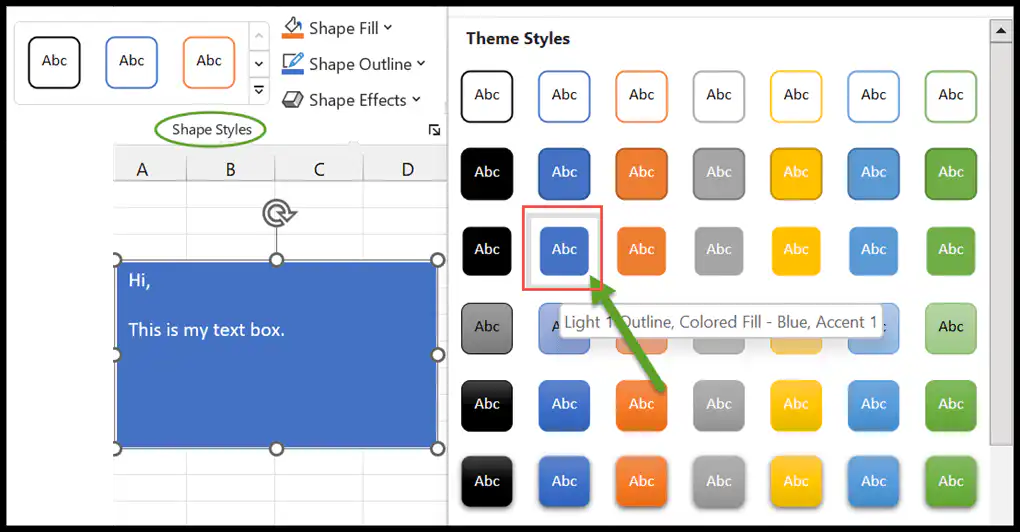
In the “Shape Styles” group, first, you can select the theme style of the shape in the worksheet.
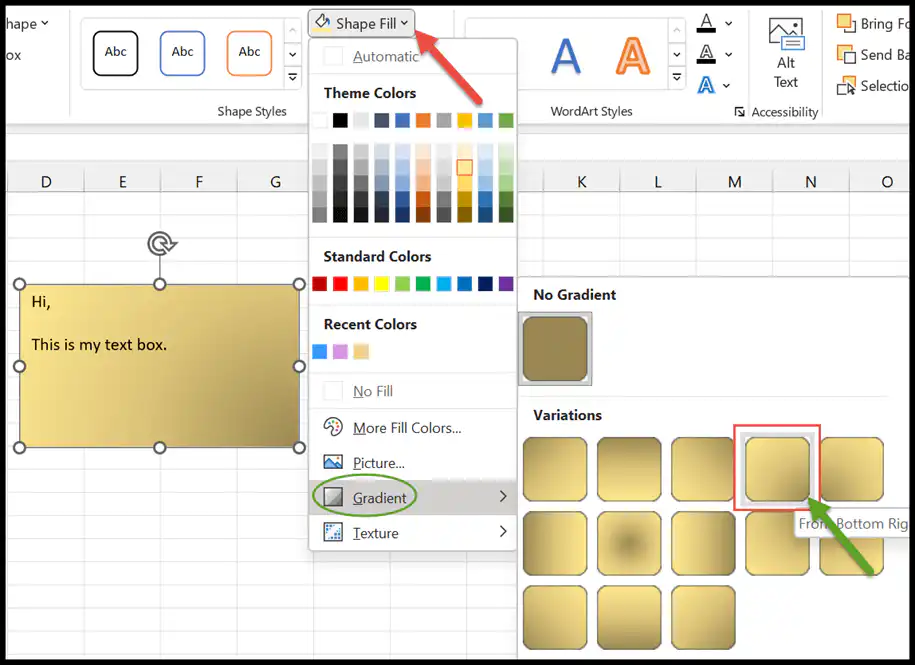
Even you can also choose any texture or gradient option which includes some dark and low variations of colors through “Shape Fill”.
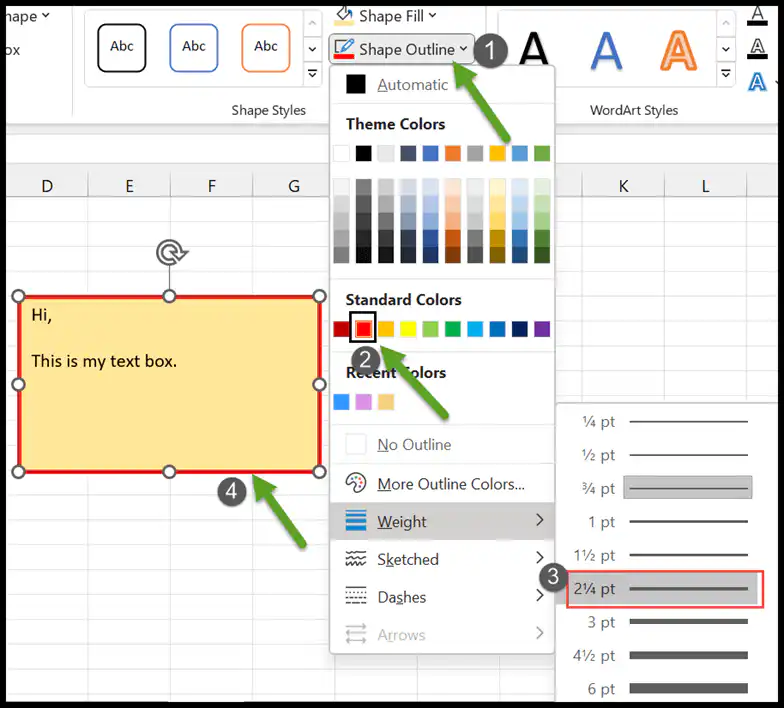
Shape Outline allows you to change the outline color of the shape or if you want to change the width and line style of your text then click on the weight and dashes options.
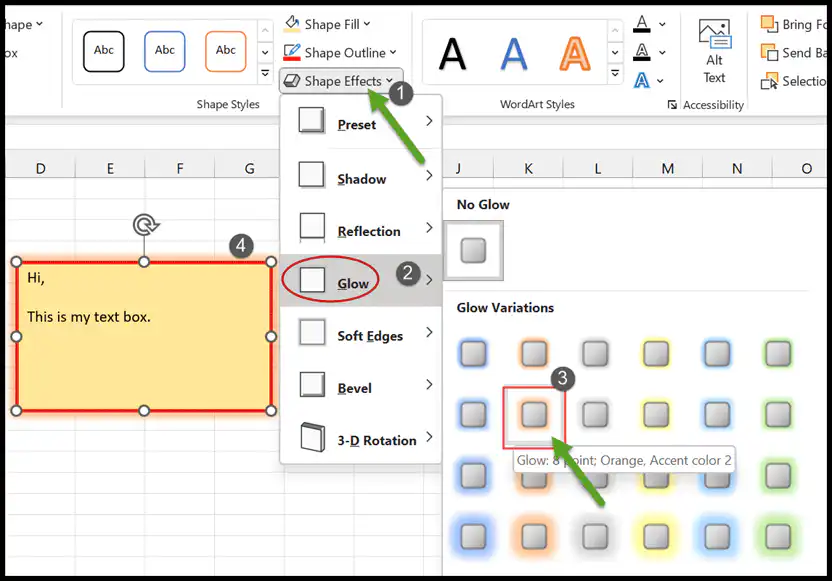
By “Shape Effects” you can apply some visual effects like shadow, reflection, and so on to give a different look to your text.
Remove the Border
For this, you have to go to the “Shape Outline” drop-down in the shape styles group. Then, select the “No Outline” option from it.
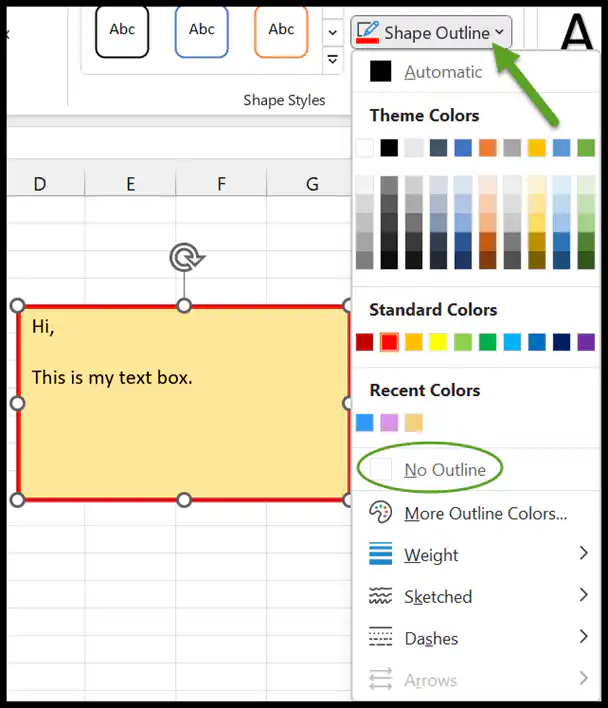
Once you click on this, it will remove the borders of the selected shape and it looks like the below.
Font Size, Style, and Color
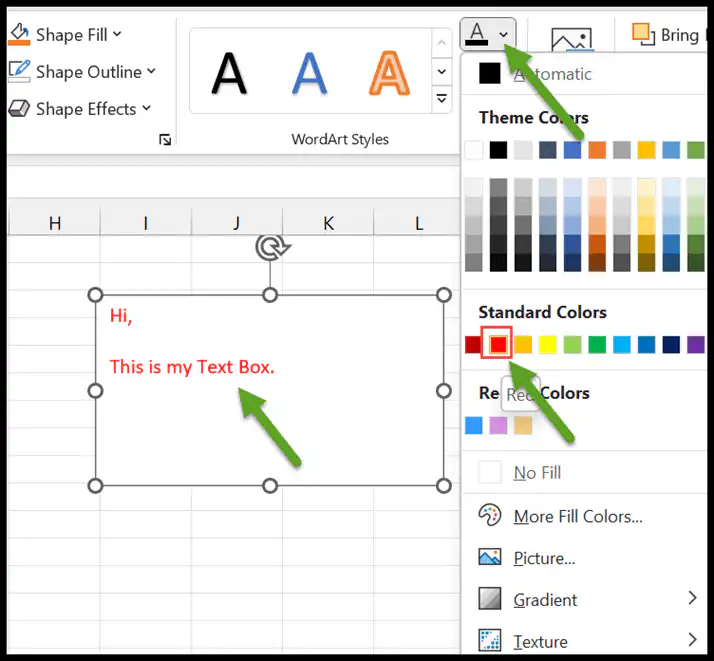
Once you select the text box, then you are able to add text to it just by double-clicking inside it. Many font formats are available right next to the shape styles group from where you can select the font style.

Here, in the “Text Fill” option, you can change the color of the text by selecting it.
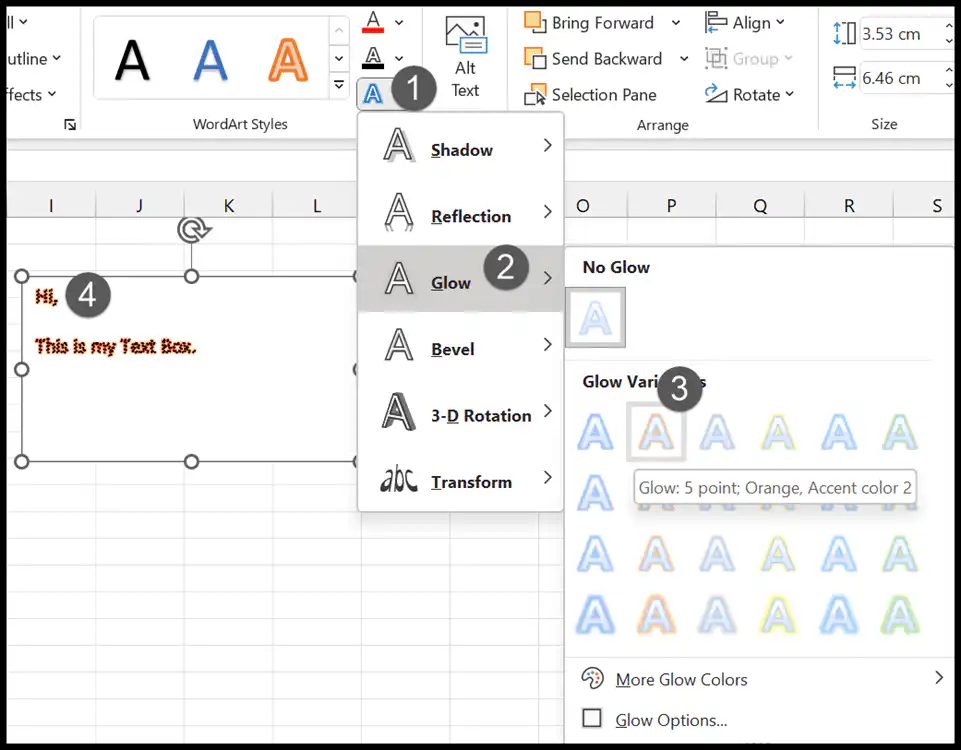
Text Outline and Text Effects help you modify the text by adding borders and effects to it.
Rotating the Text Box
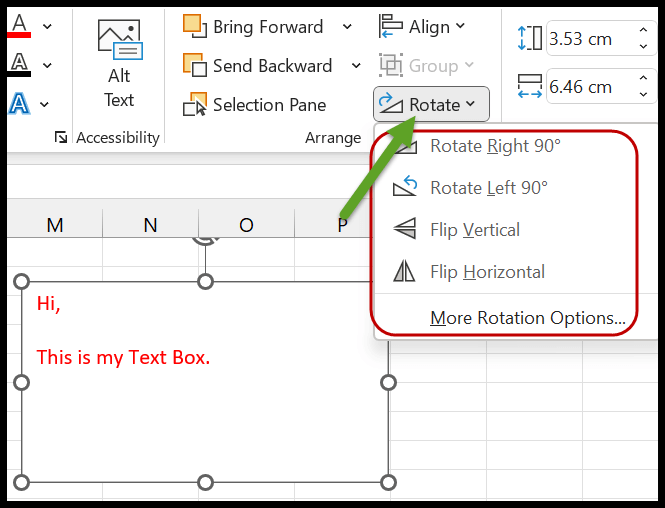
The rotation option is on the “Arrange” group. Just click on the drop-down and you will get the sub-options of rotating the text box on the left and right by 90 degrees. Also, you can flip it horizontally or vertically.
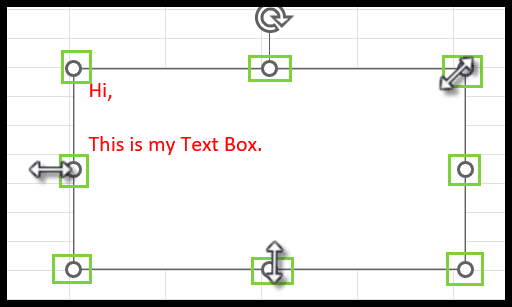
Resizing the Text Box
It’s very easy to change the height and width of the text box. You can do it in two different ways:
- First, once you select the text box, then you will get some small circles, and by extending these circles you can adjust their size as you want.
- The second method to do this is by the size group which is on the top-right corner of the ribbon.

Related Tutorials
- Fill Justify in Excel
- Formula Bar in Excel
- Add a Header and Footer in Excel
- Show Ruler in Excel
- Fill Handle in Excel
- Format Painter in Excel
- Quick Access Toolbar in Excel
- Status Bar in Excel
- Automatic Rolling Months in Excel
- Open Backstage View in Excel
- Activating the Dark Mode in Excel
- Get the Scroll Bar Back in Excel