While working with data sets you often find the situation to add a series of dates and that is only with the increment in the consecutive months. Many of us, may not know that Excel, has the functionality available to automate the same which can save time.
In this tutorial, we will show you some quick and easy ways to automate the rolling months within the date series.
Steps to Create Automatic Rolling Months Using Fill Handle
Fill Handle can be used to automate different types of data series, and rolling months is one of them. It is the easiest way to automate the rolling months.
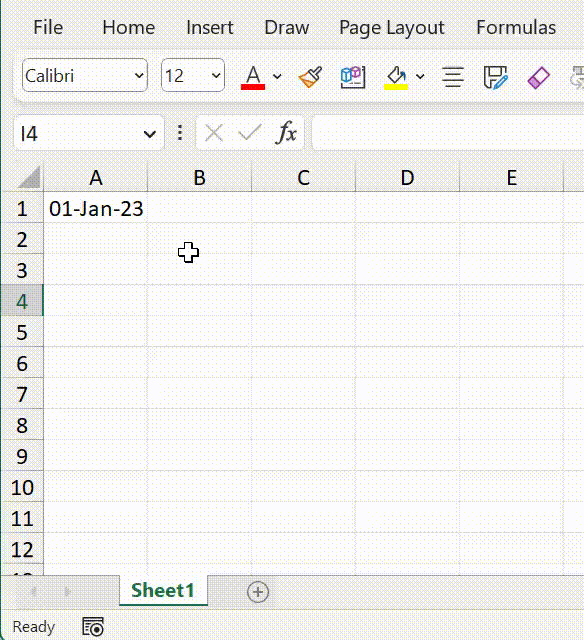
- First, enter the first date in the cell from where you want to start the data series.
- After that, hover the cursor on the “Fill Handle” at the right bottom of the cell.
- Now press and hold the mouse over there and then scroll downwards and it will create the date series but with the increment in the dates.
- Once done, click on the “Fill handle” and then choose the “Fill Months” option.
- The moment you choose “Fill Months” it will make update the series with the increments only in the rolling months.
Automate Rolling Months Using Fill Option
- First, enter the date in the cell and then hover the cursor on the “Fill Handle“at the right bottom of the cell.

- After that, press and hold the mouse over there and then scroll downwards and it will create the date series but with the increment in the dates.

- Now, select the entire series and go to the “Home” tab then click on the “Fill” icon under the “Editing” group and choose the “Series” option.

- In the “Series” dialog box, choose the “columns” then “Date” then “Month” option and then enter 1 as a value within the “Step value” field and click OK.

- The moment you click OK, your selected date series will get updated with the increments only in months.

Automate Rolling Months Using Formula
You can also create the date series with the rolling months using the combination of DATE, YEAR, MONTH, MOD, and DAY functions.
=DATE(IF(MONTH(A2)+1>12,YEAR(A2)+1,YEAR(A2)),IF(MONTH(A2)+1>12,MOD(MONTH(A2)+1,12),MONTH(A2)+1),DAY(A2))
- First, enter the first date in the cell from where you want to start the data series.
- After that, in the next cell just below that cell write the combined formula given above and you will get the data with the rolling month.

- Now, using the “Fill Handle” option, create the data series downwards.

- At this point, your date series has been created with the rolling months.

How this Formula Works
To understand the formula. Let’s divide the formula into three parts:

=IF(MONTH(A2)+1>12,YEAR(A2)+1,YEAR(A2))
In the first part, if the month plus 1 total is greater than 12, it will return the year value by adding 1 into it otherwise will return the same year that we have in the date.
=IF(MONTH(A2)+1>12,MOD(MONTH(A2)+1,12),MONTH(A2)+1)
In the second part, if the month plus 1 total is greater than 12, it will divide the month plus 1 total with the 12 and return the remainder as a result else will add 1 into the month as a result
In the third part, the “Date” function will take the resulting month and year values from the first and second parts of the formula and will add the day number of the date into it.
Related Tutorials
- Fill Justify in Excel
- Formula Bar in Excel (Hide, Unhide, and Expand)
- Add a Header and Footer in Excel
- Show Ruler in Excel
- Fill Handle in Excel
- Format Painter in Excel
- Quick Access Toolbar in Excel
- Status Bar in Excel
- Insert Text Box in Excel
- Change Tab Color in Excel (Worksheet Tab Background Color)
- Zoom In or Zoom Out in Excel
- Excel Options (Mac and Windows)
- Dialog Box in Excel
- Freeze Panes in Excel
- Alignment in Excel
- Ribbon in Excel
- Save a File in Excel
- Keyboard’s Arrow Keys Aren’t Working in Excel
- Open Backstage View in Excel
- Activating the Dark Mode in Excel
- Get the Scroll Bar Back in Excel