In Excel, there is an option when used; only the selected cells will print.
This option is helpful when you have a huge amount of data in the sheet but only want to print specific cells.
There are two ways to print certain selected cells: the first is to use the “Print Selection,” and the second is to use the print area. In this tutorial, we will walk through both methods in detail.
Steps for Printing the Selected (Specific) Cells in Excel
It is a quick method to print the selected range of cells. You don’t need to change anything; the option is in the print option.
You can use the below steps:
- To begin with, you need to select a range of cells (you can also select multiple ranges) that you want to print.
- Now, go to the File Tab and click on the print option inside the file tab. Once you click the print option, you will see the print preview and all the print area settings.
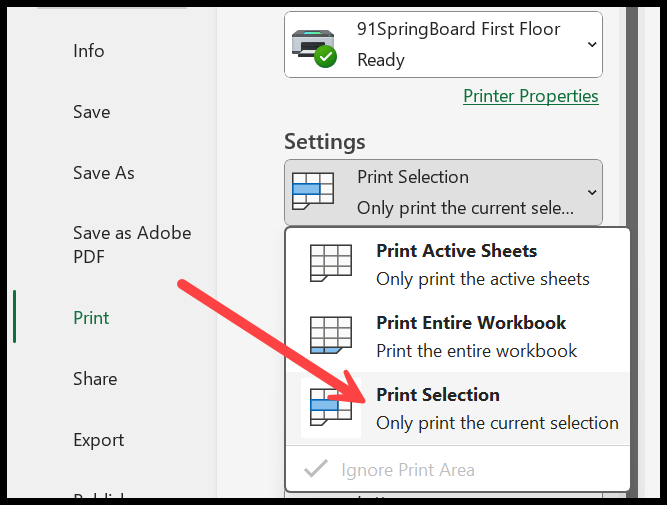
- Next, in the print section, click on the drop-down where you have “Print Active Sheets”. And from this drop-down, select “Print Selection”.
- Finally, in the print preview, you can see that it only shows you the cells or the range you selected for the print. So now, select print to print the data.
Important: Excel will print each cell or range on a separate page when you select multiple cells or ranges (non-continues) and then use the “Print Selection” option.
Notes on Printing Selected Range
- If you change the settings to “Print Selection,” you don’t need to apply this setting repeatedly. Instead, use the keyboard shortcut Ctrl + P or the File tab > Print.
- Print selection doesn’t mean to print data on a single sheet. It will move data to the next page if it’s not possible for Excel to adjust data into a single page.
- The “Print Selection” option provides access to all other printing options.
- Print Selection is a workbook-level setting. If you want to print the selected cell in another workbook, you need to change the setting for that workbook as well.
Quick Tip: If you have an Excel table in the worksheet and want to print data only from that table, you can select the “Print Selected Table” option.
Using Print Area to Print Selected Cells
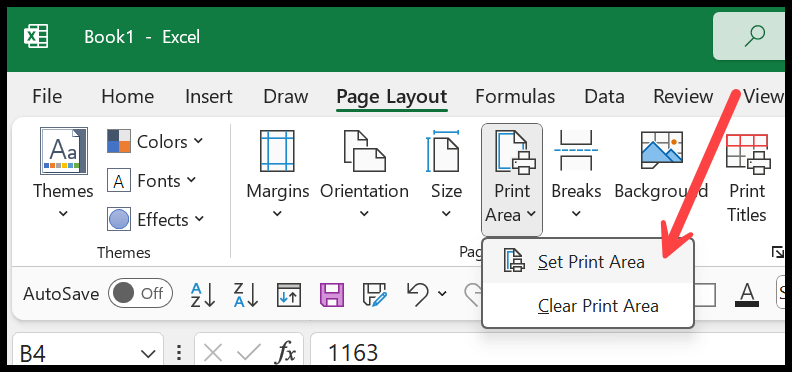
You can specify the print area to print only the selected cells. Once you select the range you want to print, go to the Page Layout Tab > Print Area > Set Print Area.
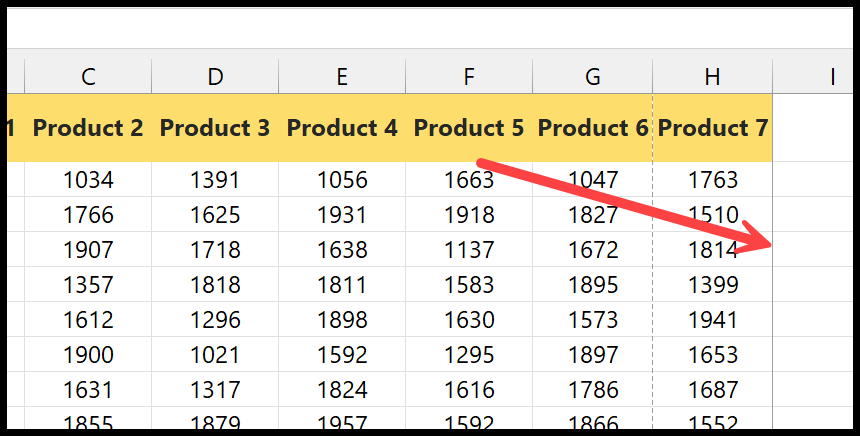
Once you set the print area, a light grey border will be added around the selected data.
Afterward, go to the File Tab and Print or use the shortcut key Ctrl + P to see the print preview.
Now, the print preview shows the data from the range you have selected and specified as the print area.
What is Print Area Command/Option?
In Excel, “Print Area” is a handy option that enables users to specify a particular range of cells they intend to print.
This becomes especially valuable when working with extensive spreadsheets containing a large volume of data, but only a specific section needs to be printed.
It allows for more efficient printing, letting you focus on the essential parts of your data.
Instead of printing an entire worksheet, you can highlight the cells with the needed data and set that as the Print Area.
If you need to change the print area in your Excel worksheet, here are the detailed steps:
- Select the new range of cells you want to set as the print area. Click and drag your mouse across these cells to highlight them.
- After selecting the range, navigate to the ‘Page Layout’ tab. This tab is in the toolbar at the top of the Excel screen, usually between the ‘Formulas’ and ‘Data’ tabs.
- Look for the ‘Page Setup’ group within the’ Page Layout’ tab. This group contains several printing and page setup options, including the ‘Print Area’ option.
- Within the ‘Page Layout’ tab, look for the ‘Page Setup’ group. This group contains several printing and page setup options, including the ‘Print Area’ option.
Your worksheet’s print area is now set to the newly selected cells. To adjust the print area of your worksheets, repeat these steps as often as needed.
Clear the Print Area
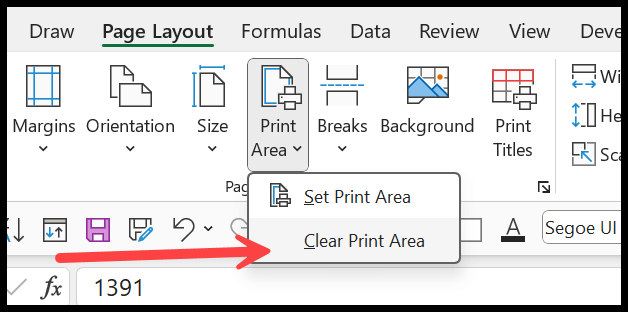
To do this, go to the “Page Layout” tab. The Print Area drop-down has an option called “Clear Print Area.” Once you click on this option, the set print area will clear.
You can now set a new print area or simply print using the custom default option.
Why the Clear Print Option is Useful
When you might want to switch back to printing the entire worksheet, the ‘Clear Print Area’ option comes into play.
When you choose this option, the previously set print area is removed.
This means the entire worksheet will be printed the next time you print the document instead of just printing the previously specified area.
It’s also important to note that the ‘Clear Print Area’ option does not delete any data from your worksheet.
It simply changes the print settings to their default state, enabling the entire worksheet to be printed.
Set Print Area Vs. Print Selected Cells
Now, you know you have two options to print selected cells. These options do the same thing but can still be used in different situations.
- Set Print Area can be used when repeatedly printing a set of cells. This prevents you from repeatedly selecting and printing those cells with a keyboard shortcut (Ctrl + P).
- Print Selected Cells allows you to print only the specific selected cells or the selected area of the worksheet. Each time you need to print, you must choose those cells again. It is also useful when printing the selected cells, but the selection is not fixed. That means you can change the range to print by choosing a new one.
Other Points to Note Down
- Remember that any formatting you apply to your selected cells, such as borders and shading, will also appear in your printout.
- The flexibility of the Print Area function in Excel allows you to adjust the print area at any point. This is especially useful when there are data changes or printing needs.
Set Print Area from Print Titles Command
To open the print titles option in Microsoft Excel and use it for your advantage, follow these steps:
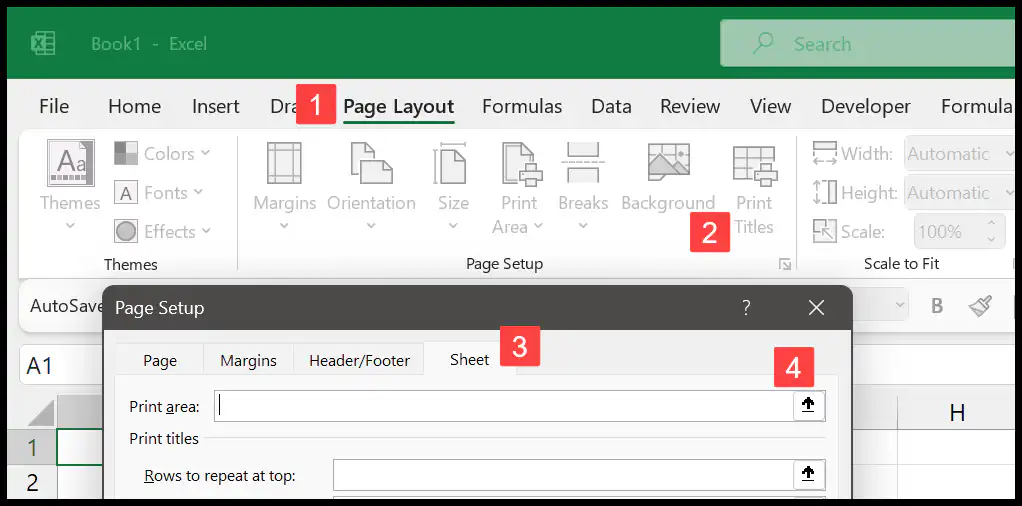
- Once you open the Excel worksheet, navigate to the ‘Page Layout’ tab. This tab is in the toolbar at the top of the Excel screen. It’s usually between the ‘Formulas’ and ‘Data’ tabs.
- Within the ‘Page Layout’ tab, look for the ‘Page Setup’ group. This group contains several printing and page setup options, including the ‘Print Titles’ option.
- Click on the ‘Print Titles’ option within the ‘Page Setup’ group.
- To set the print area, click on the arrow button next to the print area input bar. Then select the range that you want to set as the print area, and click OK to save.