You sometimes print a report or a data set from your Excel spreadsheet. But that data is over and above a single page. In this situation, you can use an option (three options) to fit the entire data in a single page.
In this tutorial, we will learn about these options and how to use them correctly. So, let’s get started. Let’s take an example which we are going to use here.
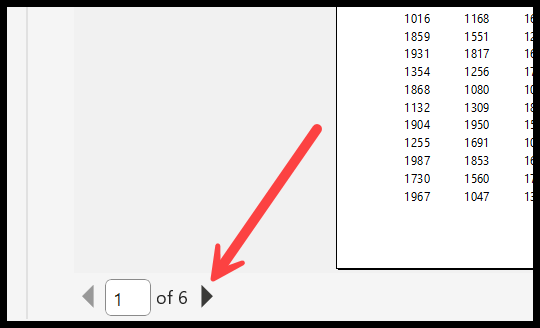
In this example, we have data that will take six pages to print.
Print on One Page Option in Excel
- Click on the File Tab.
- Then click on the Print.
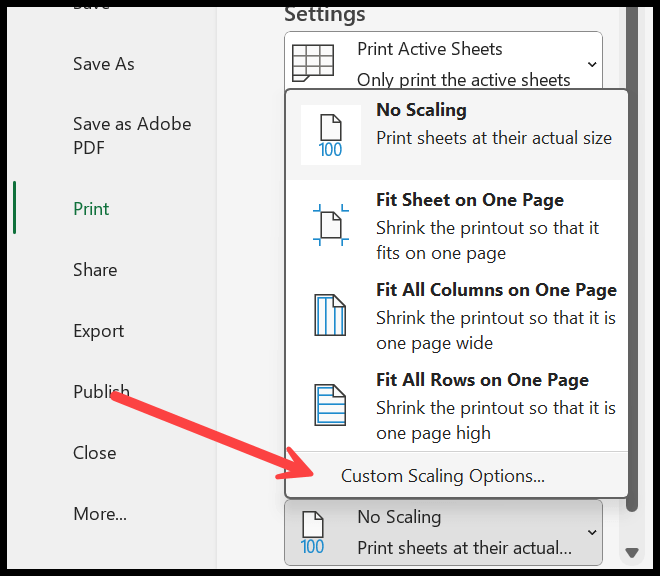
- Now, go to the Scaling Drop Down.
- Select the option you want to use to fit on a single page.
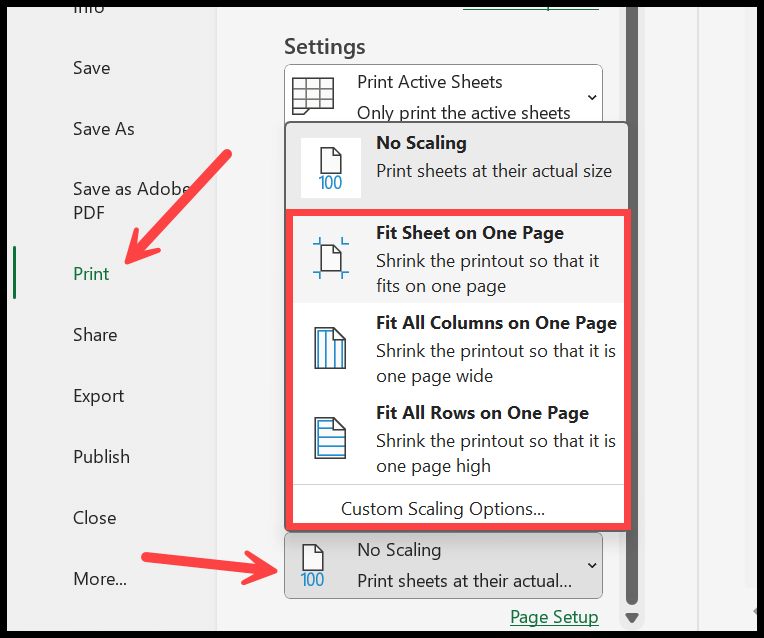
As you can see, there are three options that you can use. These options work in different ways, so let’s understand them individually.
Fit Sheet on One Page
It fits the entire data on a single page. This option is useful when you have less data above a single page. The more data you have, the less likely this option will help you.
With the above example, the “Fit Sheet on One Page” option compresses the entire data on a single page. This data takes six pages initially.
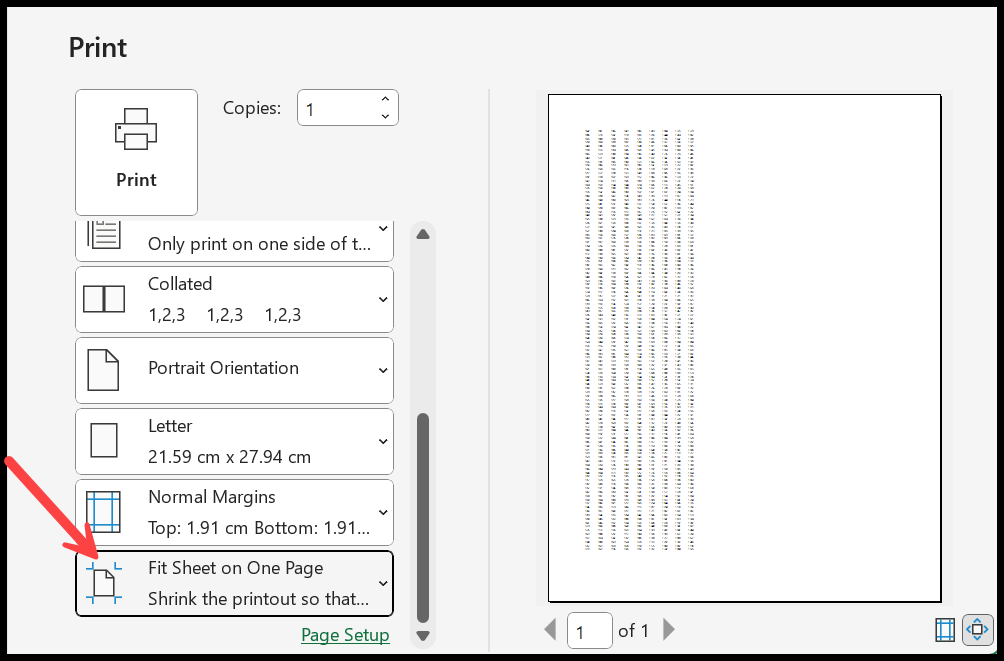
As I said, if the data is more than two pages and you use this option, it fits the data in a single way that it becomes hard to read when you take the Print. So, you need to check the size of the data you want to fit on a single page.
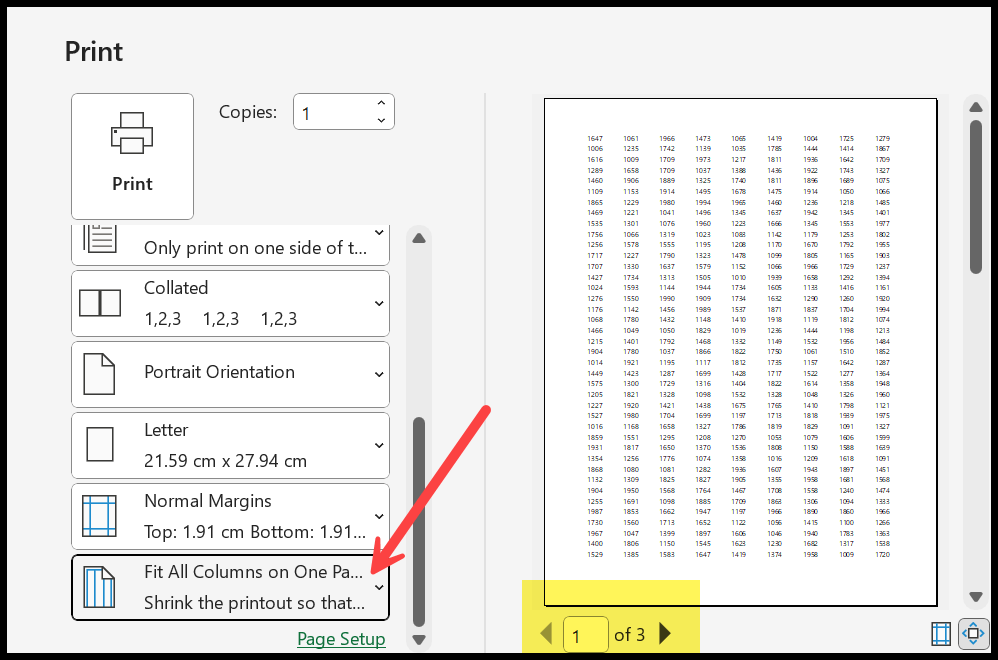
Fit All Columns on One Page
This option fits only columns on a single page and doesn’t change the rows scaling. When you use it with data that is originally six pages while printing, it fits that data to 3 pages, but only by changing the
Fit All Rows on One Page
This option fits all rows to a single page and doesn’t change the column scaling. And now, when we use this option, it scales all the rows to a single page and only makes it on one page.
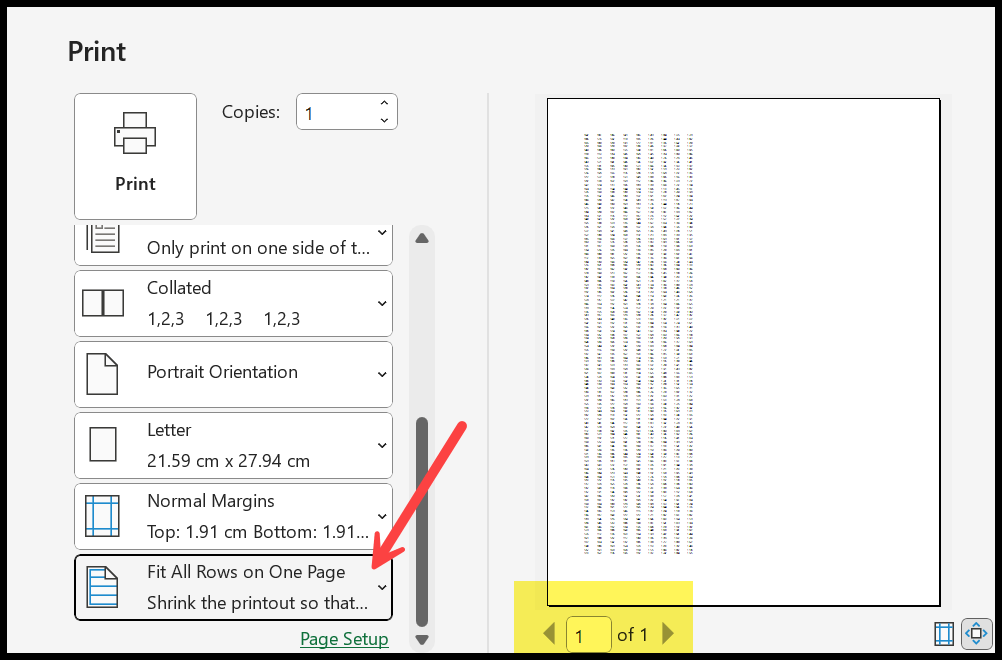
In our data, we have more rows of data than columns, and that’s why this doesn’t work. It makes data so small that it won’t be readable when you take the Print.
Notes
- To use these options correctly, you need to check which option is useable to take prints so that your data will be readable when you take prints on paper.
- These options are workbook-level options. If you are working on a different workbook, you must apply the settings again.
Using Custom Scale
In the same way, you also use the custom scale option to fit data into one page. When you click on the “Custom Scaling Option”…
…it opens the page and sets up a dialog box where you can change the scale percentage.
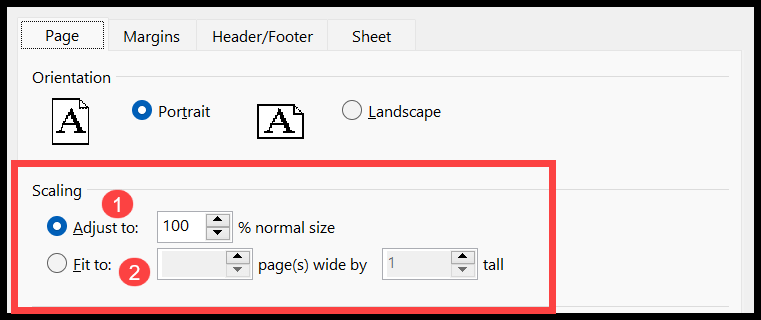
In the adjust to the option, you can change the scale percentage to fit your data into one page.
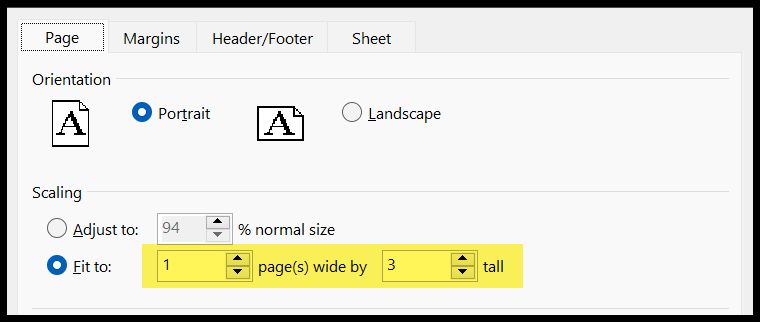
Then, from the next option, “Fit to”, you can enter the number of pages to fit into. If you want to fit columns into 1 page and rows into three pages, you need to enter one into the (pages(s) wide) and 1 in the tall.
Other Options to Fit Data into One Page
1. Change Font Size
You can change the font size for the entire data and then adjust the width of the columns. It makes the width of the data less than its original size.
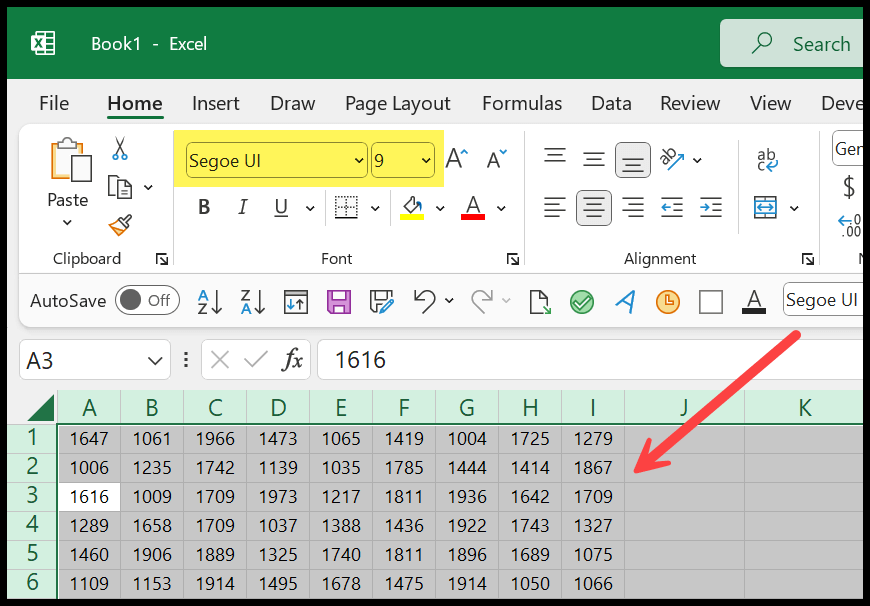
You can use the keyboard shortcut Ctrl + A to select all the cells in the sheet and then change the height of rows and width of the columns.
2. Hide Rows and Columns
You can also hide the columns and rows you don’t need in the Print. It will make the data size less than its original size and help you to fit it into a single page.
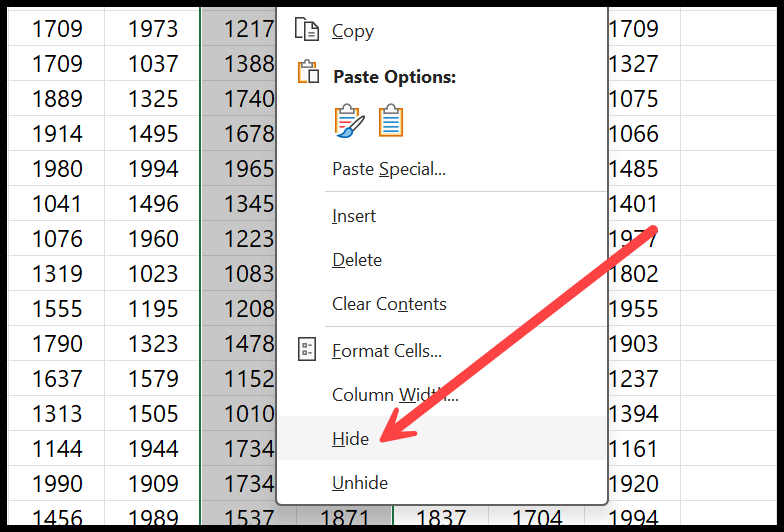
And once you take the printout, you can unhide those hidden rows and columns. Even when you hit rows and columns, you still need to change the width of columns and rows, but that’s OK.
3. Change the Margin to Fit into One Page
When you don’t have much data from a single page, one of the best ways to fit into a single page is to change the margin.
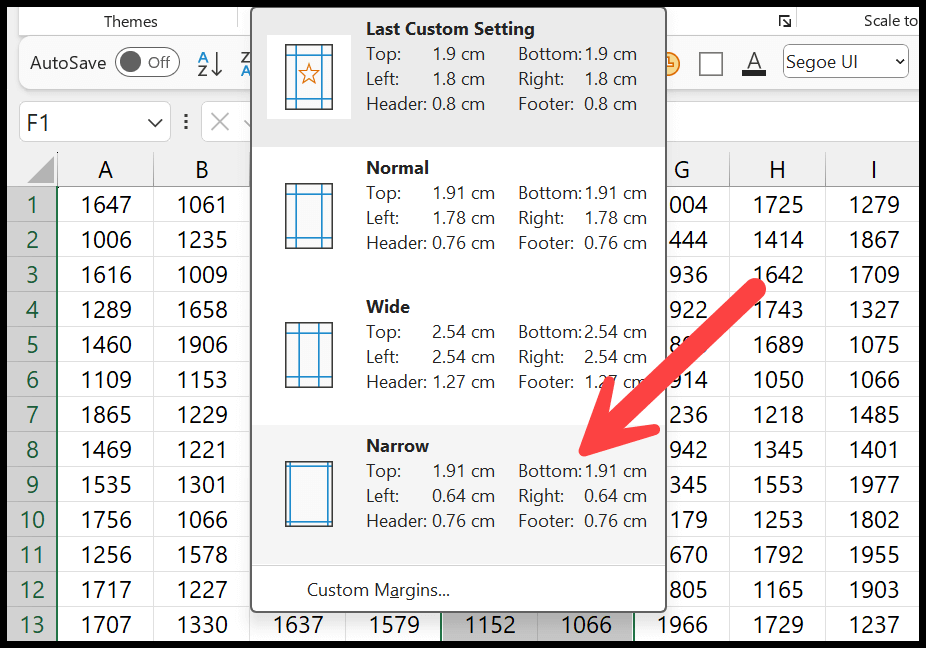
Suppose you go to the Page Layout > Magin > Narrow. Selecting a narrow margin gives you more space on a single page to fit data.
And if you want to change the margins further, go to the Page Layout > Margin > Custom Margin. When you click on the customs margin, it opens the page set-up dialog box, where you can change the margins how you want.
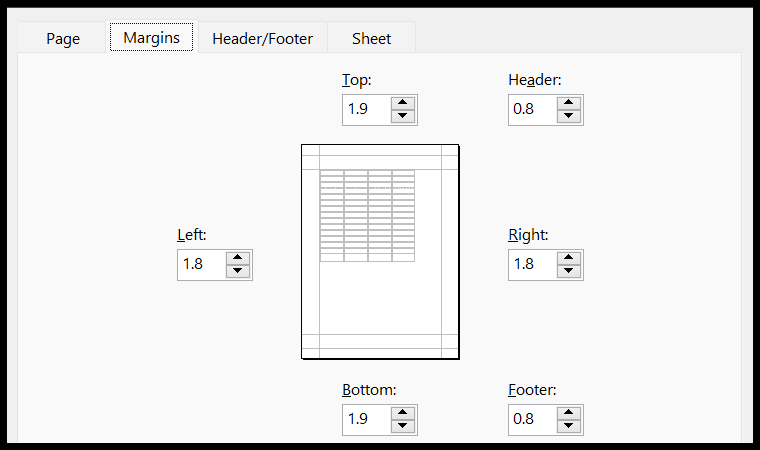
You can also remove the space preserved for the header and footer from the same dialogue box, giving space at the page’s top and bottom.
4. Changing Page Orientation
You can also change the page orientation before printing. If the data has more columns that can’t fit on a single page, you can change the orientation to landscape.
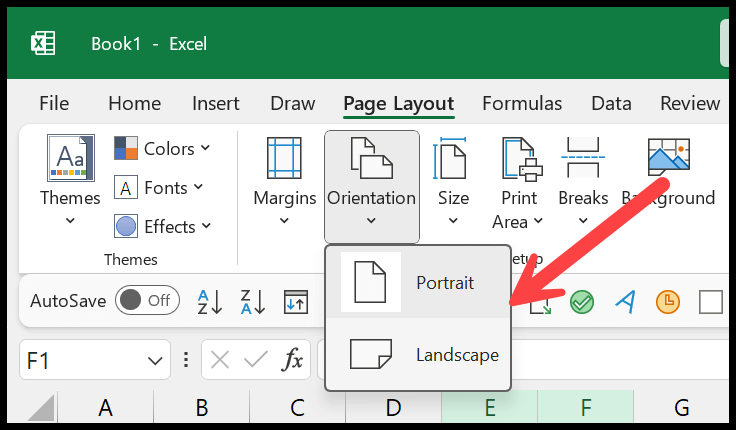
Go to the Page Layout > Orientation > Landscape. And once you print the data, you change the orientation back to portrait.
5. Print Selected Data Only
There is an option allowing you to print a specific range of cells from the sheet. You need to select the data which you want to print.
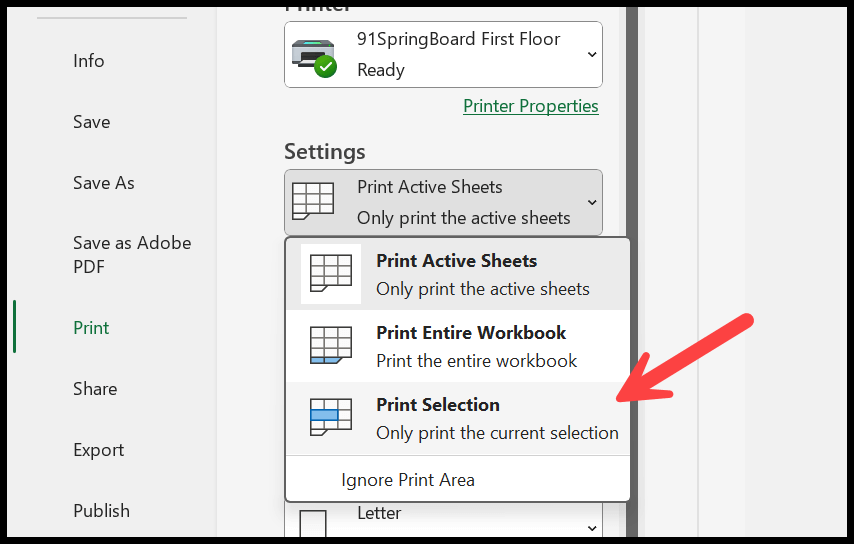
When you select “Print Selection”, it only prints the selected data range. But if the selected data size is big enough to not fit on a single page, you must use other options to fit it into a single page.
6. Page Break Preview
When you go to the View Tab and click the Page Break Preview button, it switches the view where you can see the page break.
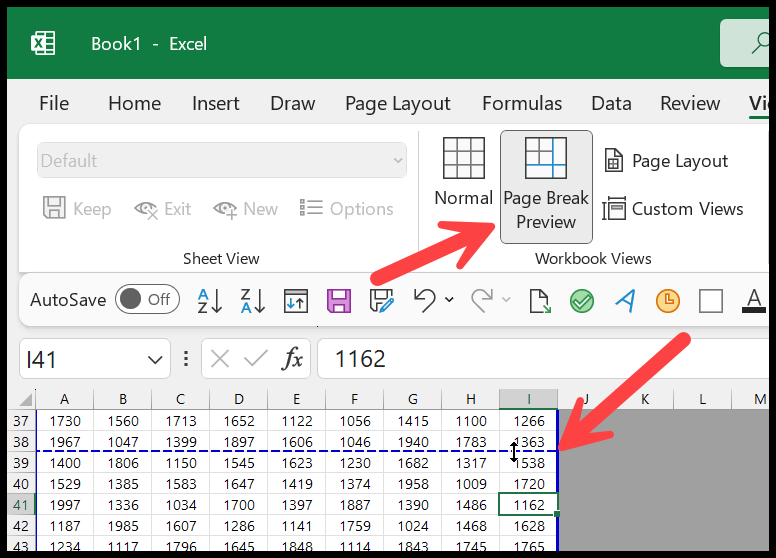
With this view, you can use the thin blue line to increase the range of the data to include in the page to print.