

In Excel, you can use a custom order to sort data. For this, you need to use the custom list. There are a few pre-made lists that you can use, or you can create a new list also.
- Create a Custom List
- Sort using the Custom List
Let’s use the data that we have in the example here. In this data, we have a list of names and need to sort based on the age category.

Part-1: Create a Custom List
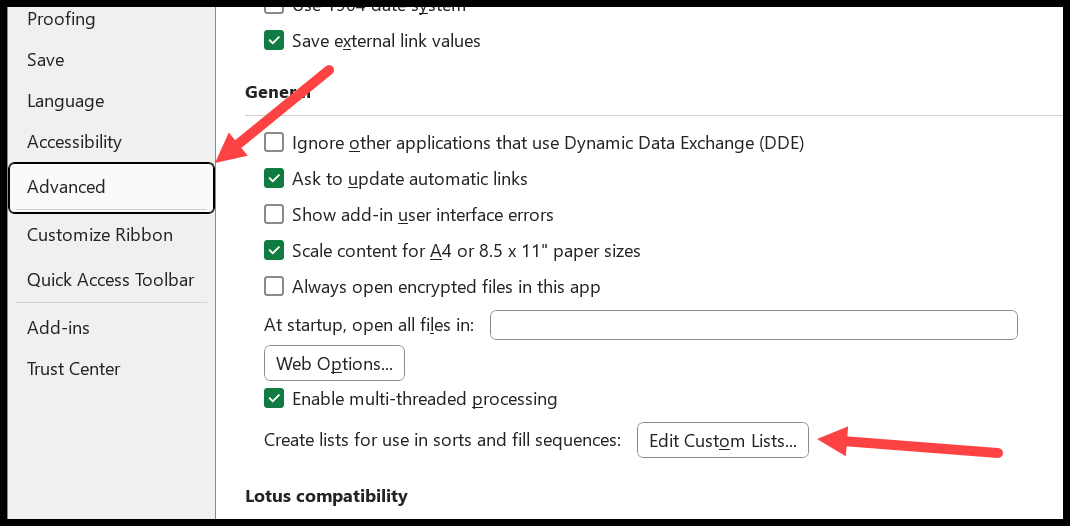
- Go to the Home Tab > More > Options > Advanced > Edit Custom List.
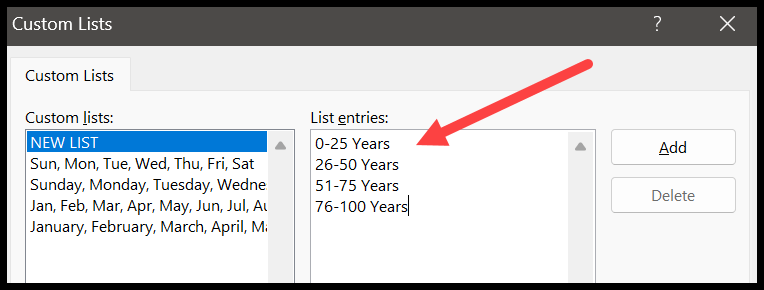
- In the custom list dialog box, enter the list entries in a sequence in which you want to sort the data.
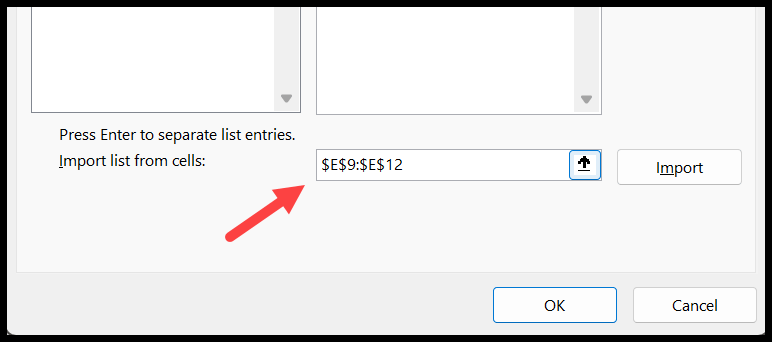
- Or you can also get it from the range using the range selection and import buttons.
- In the end, click OK.
Part-2: Steps to Custom Sort in Excel
- Select the data and open the SORT dialog box. Data > Sort. Or you can also use the keyboard shortcut Alt > A > S > S.
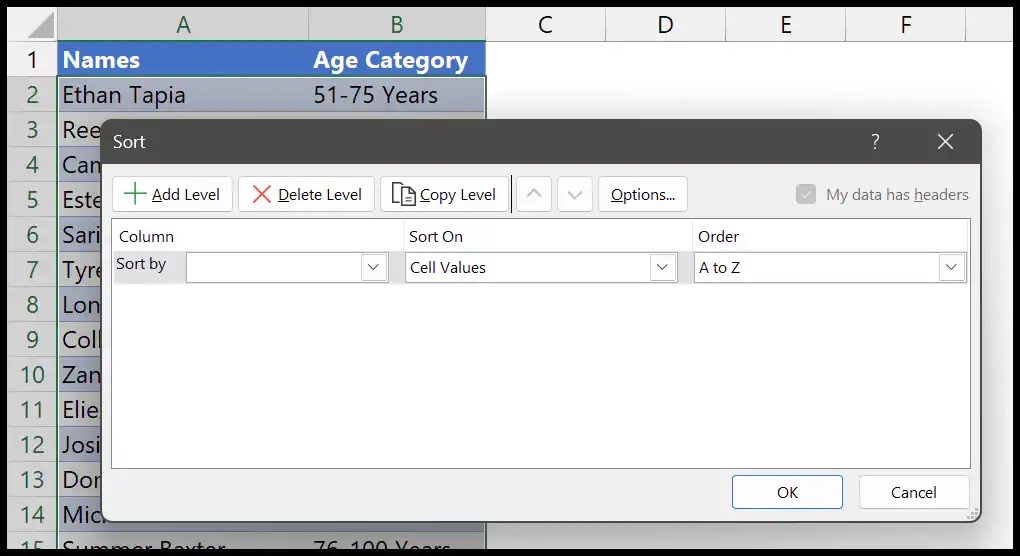
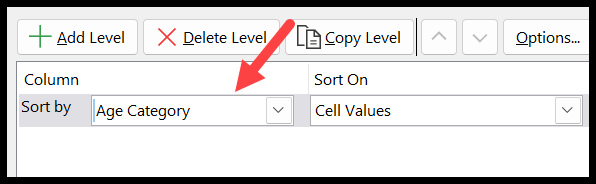
- From the “Sort by” dialog box, select the column “Age Category”.
- After that, from the “Order” dialog box, select “Custom List”.
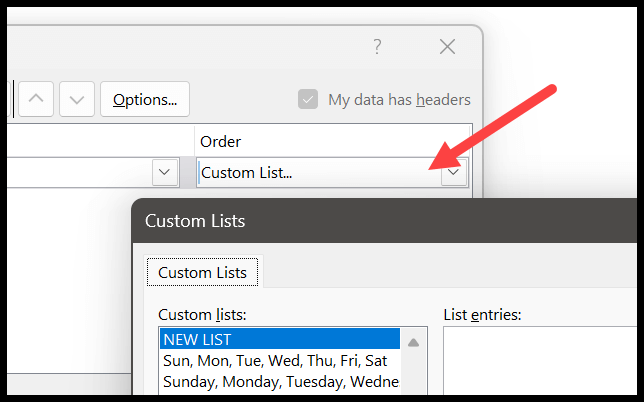
- And then select the list you have just created new.
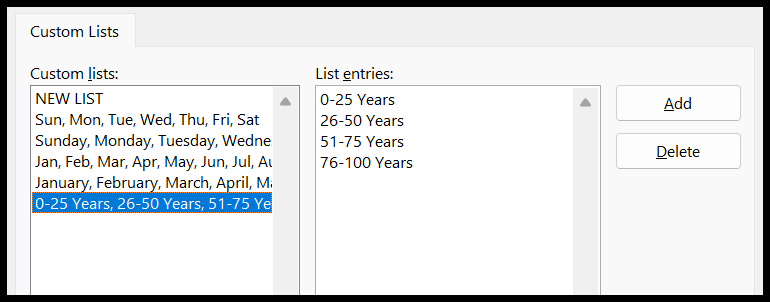
- Finally, click OK twice to sort the data using the selected custom list.
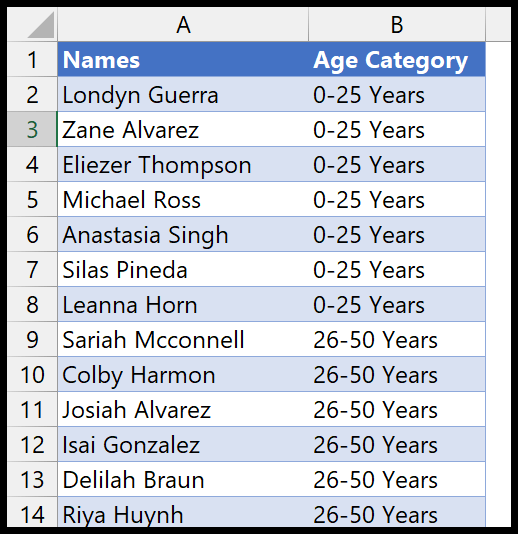
And the moment you click OK, it sorts data using the age category you created before sorting.
Written by
Puneet Gogia
Microsoft MVP — Excel · Founder, Excel Champs
Twelve years of teaching Excel, and a decade before that using it as a data analyst. Every tutorial here is written from a file I actually built.