If you are using Excel on a Mac, saving file need to follow different steps than Windows. This tutorial looks at the steps you must follow to save an Excel file on a Mac. We will also see all the formats which are available to use.
Steps to Save a File in Excel on Mac
You need to follow below steps:
- First, go to the “File” menu from the menu bar.

- After that, click on the “Save As” option from there.

- Next, in the “Save As” dialog box, enter the name you want to give to the file.

- Now, select the location from the “Where” drop-down.

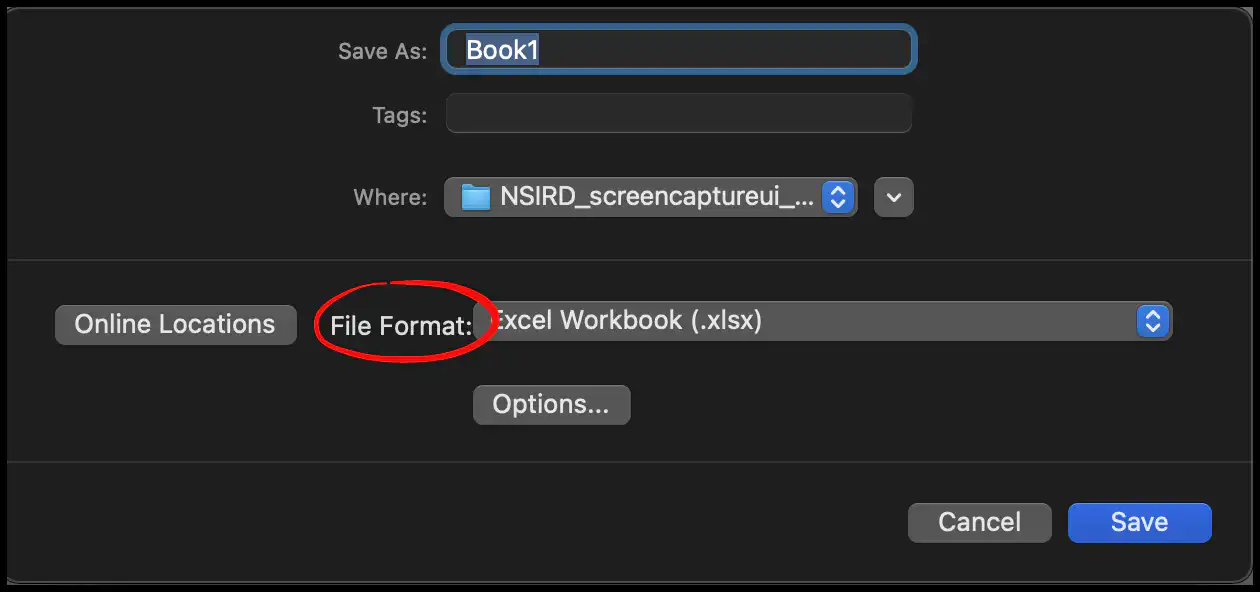
- Moving ahead, select the file type from “File Format”.

- Finally, click on the “Save” button to save the file.

Saving in Different Formats
When you save a file, Excel allows you to choose from multiple formats, like, PDF, CSV, etc. You can use any format from the available formats by clicking on the “File Format” drop-down.
Change the Location
If you want to change the file location while saving the file, you can click on the small downward drop-down next to the “Where” drop-down.
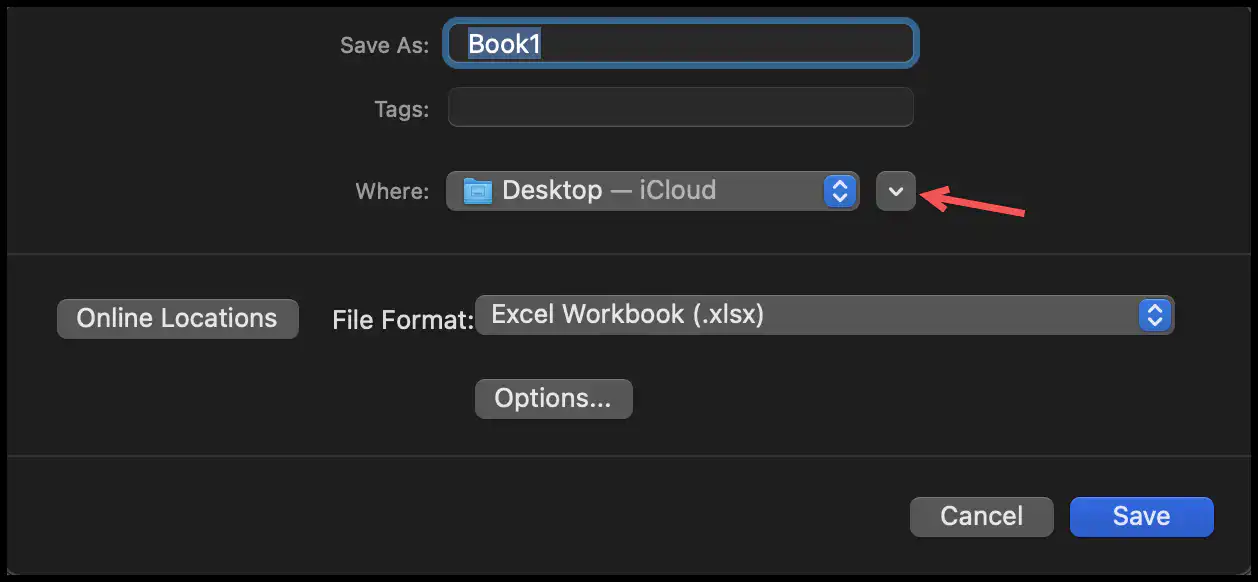
Once you click on it, it will expand the dialog box, and you can locate the folder or path to save the file.
