The IF function is an important building block enabling conditional logic in your Power BI reports and dashboards.
This function is just like the IF function we use in Excel.
And if you are familiar with IF, you don’t need to worry about using it in POWER BI.
What is IF in Power BI
In Power BI, IF is a statement that can help you test a condition and then if that condition is TRUE, you can specify a value to get in return to know that the condition is TRUE. And if that condition is FALSE, you can specify a value to get in return to know that condition is FALSE.
In Power BI, IF can be used within the DAX (Data Analysis Expressions), as well as a in Power Query for data transformation.
This tutorial is a detailed breakdown of how the IF statement works in Power BI.
IF Syntax in Power BI (DAX)
IF(logical_test, result_if_true, [result_if_false])- logical_test is the condition you want to check.
- result_if_true is the value that will be returned if the condition is true.
- [result_if_false] is the value that will be returned if the condition is false. This parameter is optional; if omitted, BLANK is returned when the condition is fals
Steps to Write the IF Statement in Power BI using DAX
This allows you to perform row-by-row evaluations and return specific values based on a condition you define.
Here’s how to do it step by step:
- Open Power BI Desktop and Load Your Data – Ensure your dataset is loaded into Power BI Desktop. You can add data by clicking “Get Data” in the Home tab and selecting your data source.
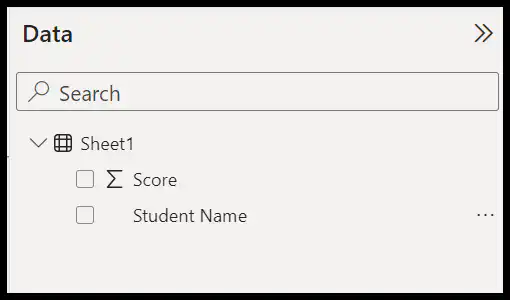
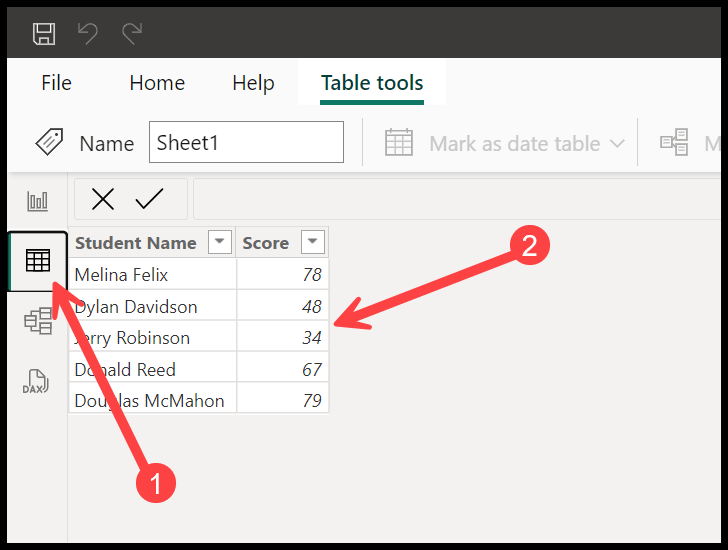
- Navigate to the Data View – Once your data is loaded, switch to the Data view by clicking on the “Data” icon in the left-hand sidebar. This view allows you to see tables and columns in your dataset.
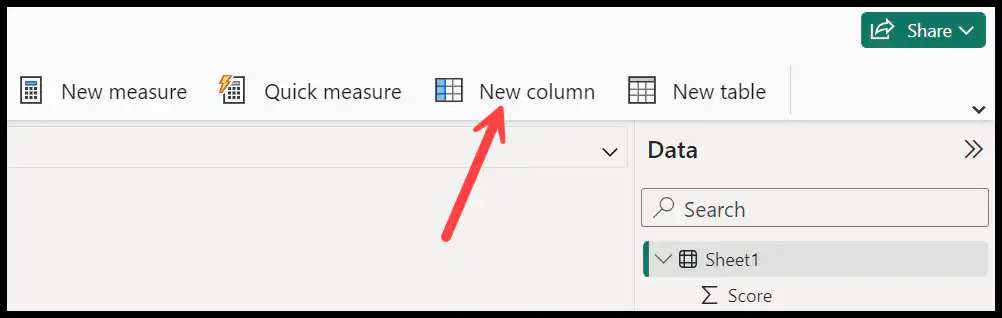
- Create a New Column – To add a new column, go to the “Table tools” tab in the ribbon at the top of the Power BI Desktop window and click on “New Column”. This action opens a formula bar where you can enter your DAX expression.
- Write Your IF Function: Now, in the formula, enter he formula IF(Sheet1[Score]>=50,”Pass”,”Fail”). And change the name of the columns from “Column” to “Result”. The logical test being performed here is checking if the ‘Score’ is greater than or equal to 50. If this condition is met (i.e., the score is 50 or more), the formula will return the string “Pass”. If the condition is not met (i.e., the score is less than 50), the formula will return the string “Fail”.

- Press Enter to Create the Column: After writing your DAX formula, press Enter. Power BI will evaluate the formula for each row in your table and create a new column with the result.

Now that you have created a new column, you can use it in your reports. Drag the new column to visuals, filters, or slicers to analyze your data based on the conditions defined.
Important Points to Note
- Descriptive Column Name: Give your new column a descriptive name that reflects the data or calculation it represents.
- Test Your Logic: Ensure your logical test accurately captures the condition you’re interested in. Test the column with various data points to ensure it behaves as expected.
- Optimize for Performance: Calculated columns can impact the performance of your Power BI report. Use them carefully, especially with large datasets.
Use Power Query to Create a IF Statement in Power BI
Using the IF function in Power Query within Power BI offers a different context compared to DAX. Power Query transforms and prepares data before loading it into the model, while DAX analyze it after it is loaded.
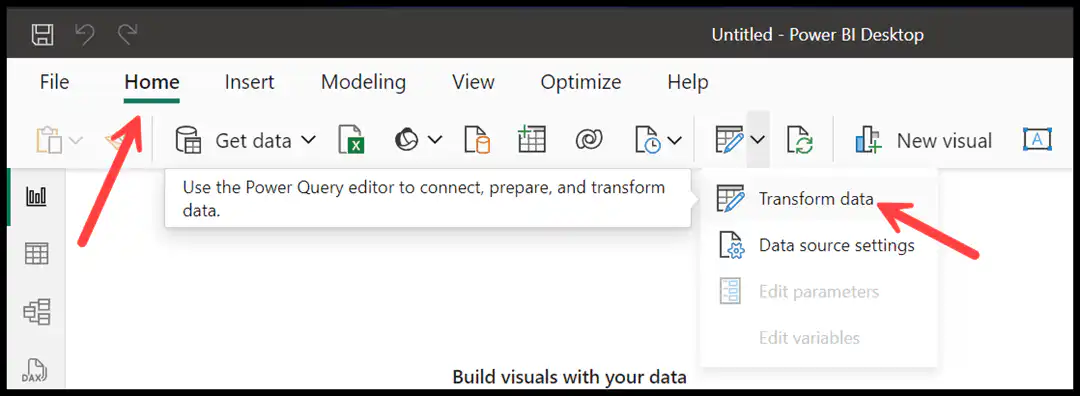
- Access the Power Query Editor: In Power BI Desktop, go to the “Home” tab, click on the Power Query button, and click “Transform Data” to open the Power Query Editor.
- Add a Custom Column: Click the “Add Column” tab in the Power Query Editor ribbon and then click “Custom Column” to open the Custom Column Formula Editor.

- Write IF Statement: In the Custom Column formula editor, you need to name the column first and then enter the formula like: if [Score] >= 50 then “Pass” else “No”.
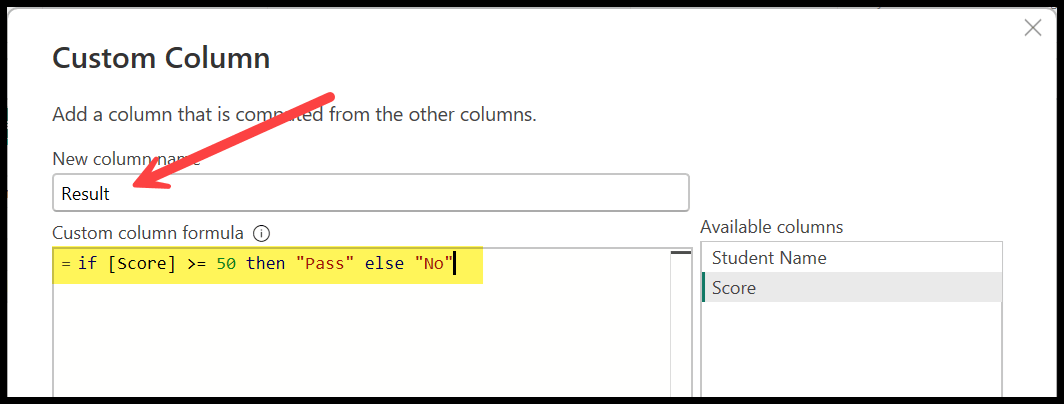
- Let’s break down the components of this IF statement:
- if [Score] >= 50 – This is the condition being checked. It looks at the “Score” column in your data and checks if the value is greater than or equal to 50.
- then “Pass” – This is the output if the condition is met. If the score is indeed 50 or higher, the statement will return the string “Pass”.
- else “No” – This is the output if the condition isn’t met. If the score is less than 50, then the statement will return the string “No”.
- Add Color and Close & Apply: Click “OK” to add the column to your table. Then click the “Close & Apply” button in the Power Query Editor to apply your changes and return to the main Power BI window.

Wrap Up
Choosing whether to use DAX or Power Query for an IF statement in Power BI depends on the specific context of your data transformation and analysis needs.
Neither Power Query nor DAX is better for using an IF statement. It all depends on the requirements of your data processing