Like other Microsoft Office applications such as Word or PowerPoint, Excel also has the feature to draw and insert a line in the worksheet. Users can draw vertical, horizontal, and diagonal lines in sheets to connect the two cells, charts, points, and shapes.
Excel has a variety of line types available and based on the requirements, users can select and draw different types of lines and can also customize them. We have mentioned some quick and easy steps for you to draw and format the line in Excel.
Draw a Line Using Shapes
- First, go to the “Insert” tab, then click on the “Shapes” icon, and then select the line type which you want to draw.

- Once you select the line, your mouse pointer gets changed to the plus (+) sign.
- After that, with the help of a mouse, go to any cell to draw the selected line.
- Now, press and hold the left mouse button and drag the mouse to a certain length or to a cell up to which you want to draw that line.

Users can click on the line and copy-paste the line or can drag the line to any other location within the worksheet.
Make the Line a Perfect Straight Line
When users draw a straight line by dragging the mouse, there might be a possibility of not getting the perfect straight line. To make the line a perfect straight-line users can do the following steps.
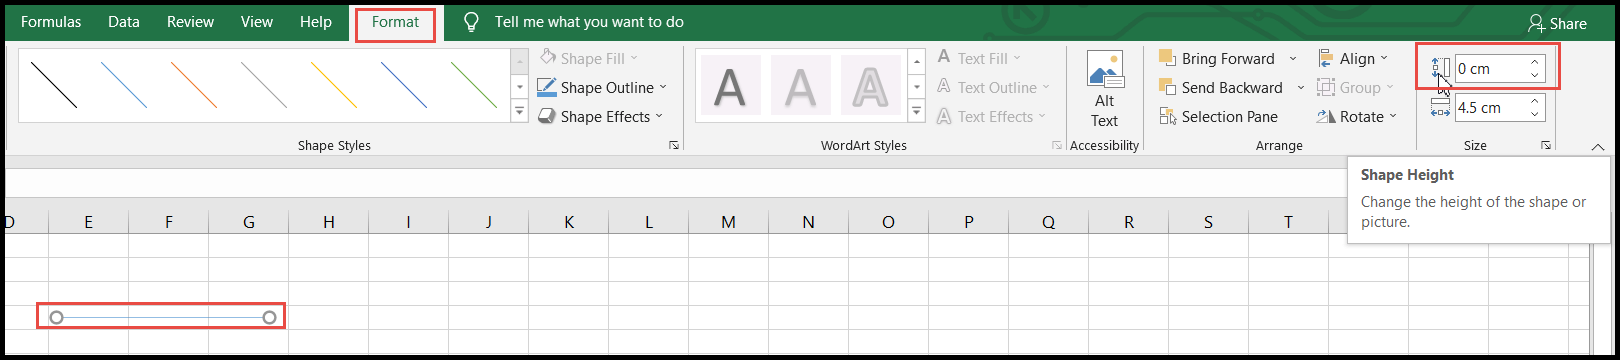
- First, click on the line and you will get the “Format” tab visible.
- Now, click on the “Format” tab and make sure the shape height to zero (0) cm to make it a perfectly straight line.
- You can also increase or decrease the line height to make it diagonal by increasing the shape height with the help of up and down arrows.
Format or Customize the Line
Excel has the option to format and customize the shape, size, color, and design of the lines.
- First, click on the line and then click on the “Format” tab.
- After that, click on the drop-down arrow button within the “Shape Style” group.

- Now, select the style for your line from the “Shape Style” drop-down.

- Once you click on the required style, the line gets converted to that style.

- To change the color of the line, click on the “Shape Outline” drop-down arrow and select the color you want.

- To increase or decrease the width of the line, click on the “Weight” from the drop-down and select the width size you want.

- To make the line a dotted line, click on the “Dashes” from the drop-down and select the dotted line style you want.

- To add the direction arrows to the line, click on the “Arrows” from the drop-down and select the arrow type you want.

- To add the effects to the line, click on the “Shape Effects” drop-down arrow and select the effect you want.

- To do more formatting to the line, right click on the line and click on “Format Shape” from the drop-down menu and you will get the “Format Shape” window opened.
