In general terms, embedding means inserting any object within the current document. Excel has the inbuilt feature to embed the files within the spreadsheet as an attachment.
With this feature, you can embed new and external documents like .xlsx, doc, ppt, pdf, etc. to refer them to the current spreadsheet without affecting the data set.
In this tutorial, we will show you how to embed files into the spreadsheet.
Steps to Embed a New File in Excel
Sometimes users need to embed a new blank file instead of any existing file within the spreadsheet and for that follow the below steps:
- First, go to the “Insert” tab and click on the “Text” icon and then click on the “Object” option.

- After that, in the “Object” dialog box and click on the “Create New” tab, and then from the “Object Type” field, select the document type that you want to embed.
- Once selected, tick-mark the “Display as icon” option and then click OK.

Note: You can only embed the new file types which are part of the given object types.
Embed External Files in Excel
- First, go to the “Insert” tab and click on the “Text” icon and then click on the “Object” option.

- After that, in the “Object” dialog box and click on the “Create from File” tab and then on the “Browse” button to choose the file from your local system.

- After selecting the file, tick-mark the “Display as icon” option so that the file will get embedded as an object and click OK.

- Once the selected file gets embedded into the spreadsheet, you can resize it by hovering the mouse cursor on any of the round-shaped borders and then by dragging and shrinking it to fit into a cell.

- Now, to lock the icon of the embedded file within the cell, right click on it and click on the “Format Object” option.

- In the end, in the “Format Object” dialog box, go to the “Properties” tab and then select the “Move and Size with cells” option so that the icon will get locked and move within the cell only and click OK.

Points to Remember
- When you embed the file by only tick-mark the “Display as Icon” option, that embedded file will become part of the current workbook and become separate from the source file. This means if you update anything within the source file, that update will not get updated within the embedded file. To change or update anything within the embedded file, always open the embedded file from the spreadsheet where it got embedded by double-clicking on it.
- If you also tick-mark the “Link to file” option then the embedded file will only get linked and not become a separate file from the source file. This means in this case, if you update anything in the original file, the update will also get updated in the embedded file and vice-versa.
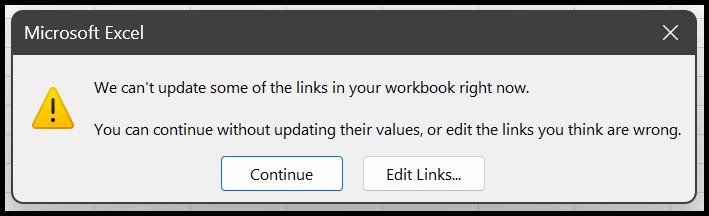
- If you have embedded the file by tick-mark the “Link to File” option, then other people cannot access that linked file and will get the below showed error while accessing that linked file.